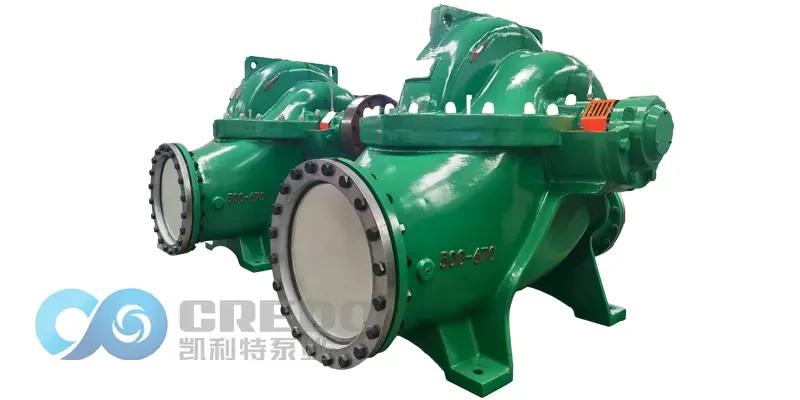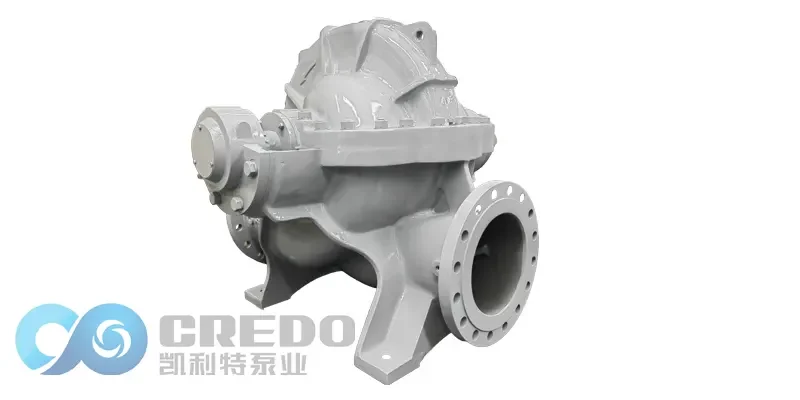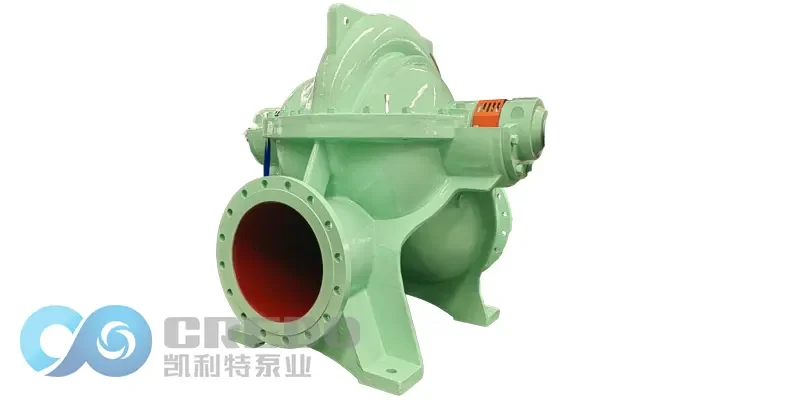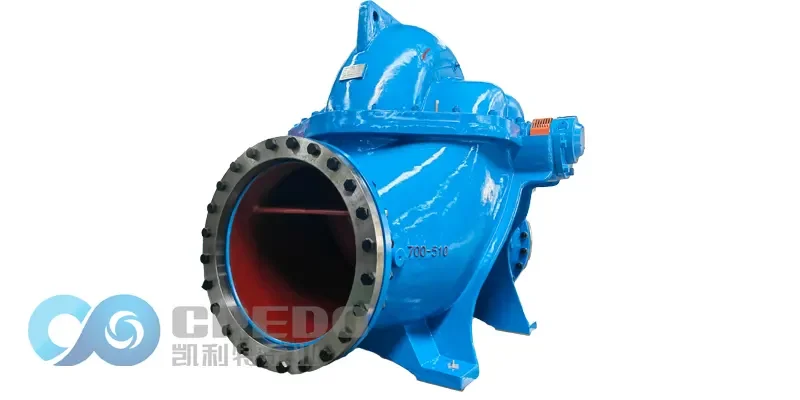
Five Steps to Install the Axial Split Case Pump
Installing an axial split case pump correctly ensures optimal performance, longevity, and reliability. Whether you’re a seasoned mechanical engineer or a maintenance technician, following a structured approach will help you avoid common pitfalls, meet compliance standards, and maximize operational uptime. Let’s walk through the five essential steps to ensure a smooth and successful installation.
Step 1: View Construction Drawings
Purpose: Understand the pump layout, foundation, piping routes, and clearance requirements.
Action: Carefully review all relevant drawings—including plans, elevations, anchor bolt layout, and utility connections—to verify dimensions, tolerances, and positional accuracy.
Step 2: Verify Construction Conditions
Ensure the foundation and site are ready before proceeding:
Foundation Approved: The pump mounting layer has passed structural acceptance tests.
Reference Lines in Place: Axis and elevation lines are clearly marked on-site.
Foundation Strength: Concrete has cured to ≥ 70% of designed strength.
Step 3: Conduct a Basic Inspection
Check these essential foundation and anchor points:
Foundation Dimensions & Elevation
No vibration isolation: Foundation must overhang the pump base by 100–150 mm.
With isolation pads: Extend 150 mm beyond isolation base.
Elevation above floor: ≥100 mm (no isolation), ≥50 mm (with isolation).
Install perimeter drainage to handle moisture or leaks.
Surface Conditions
Clean away oil, debris, soil, and water from foundation and bolt holes.
Protect anchor bolt threads & nuts.
Roughen and level pad seating areas for weldment.
Pump Placement & Shimming
Place pump on foundation, level with shims.
Spot-weld shim groupings to prevent movement.
Anchor Bolt Grouting
Install pump first, then anchor bolts vertically with exposed thread ≈0.5× bolt diameter.
Use grouting with concrete strength 1–2 grades higher than foundation (≥C25).
Grout must be compact with no bolt tilting affecting pump alignment.
Step 4: Handle Vibration Isolation & Rigid Connections
Proper vibration control avoids premature wear and noise:
Horizontal Pumps
Install rubber or spring shock absorbers beneath the concrete or steel base.
Vertical Pumps
Add rubber pads under the pump base or steel pedestal.
Rigid Connection
Ensure solid mechanical bonding between pump base and isolation/seating surface.
Pad Uniformity
Use identical model shock pads from the same manufacturer across the unit.
Prevent Tilting
Temporarily brace the pump during installation.
Maintain support while connecting inlet/outlet piping and accessories to prevent displacement.
Step 5: Lubrication, Refueling & Trial Run
After mounting and alignment:
Lubricate: Follow manufacturer guidelines for bearings, seals, and gear surfaces.
Refuel: Fill with the recommended oil or hydraulic fluid to the correct level.
Inspect: Double-check alignment, tighten anchor bolts, and verify all connections.
Trial Operation:
Start on no-load conditions.
Monitor vibrations, noise, temperature, and pressure.
Adjust as necessary before commissioning into full service.